I've been away from blogging for a while now. I joined Facebook and came to realize that is not for me. I still maintain a page there but it is only to see my great granddaughters antics. I've come to realize I loved the creativity blogger provides for me. Some women I know went the same path but couldn't get enough bloggers to view their blogs. I don't care how many view my blog. It's for me, nobody else. I have over 25,000 pictures to share tucked away on Photobucket. (I was one of their very first customers.) I love seeing beautiful things-eye candy to my eyes. Of course, it's always nice to have comments but I don't live for them. I just tuck myself away in our small home office and create, tell a bit about my life, post random thoughts I have, but there are always pictures on here. Always!
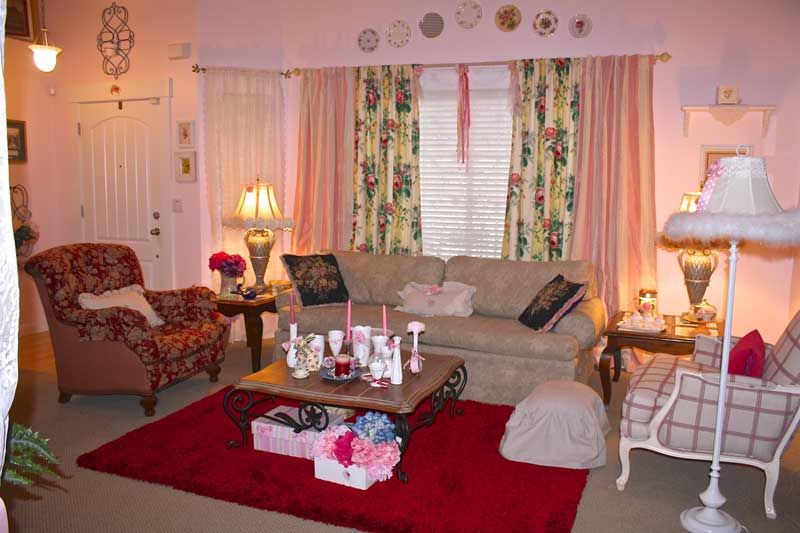
This is my living room. I adore pink. Actually, my favorite color combo is pink and yellow. That sofa is 26 years old and is still in excellent shape. The two side chairs are Ethan Allen and Thomasville. My two favorite places to buy furniture. The sofa is an Ethan Allen and it shows how beautifully their furniture is since it's the original upholstery and in 100% great shape. The red rug is a recent purchase from Overstock.com, one of my go-to places. I've never been disappointed in anything I've bought there. The pink and white stripe curtains on the window are from them and I have about 3 pairs throughout our home. It's a small house with about 1800 s.f. so we have to be creative. I accessorize with faux flowers from Michaels as I like their's the best. And, yes, my walls are pink. A delicate shade, but pink. I've made most of my pillows and the flower drapes on the window are a Cyrus Clark fabric that I paid a pretty penny to get and had to do an exhaustive search to find it. They've gone out of business but some of their fabric can still be found. I have some of their fabrics and they truly are the most gorgeous of any I've ever seen.
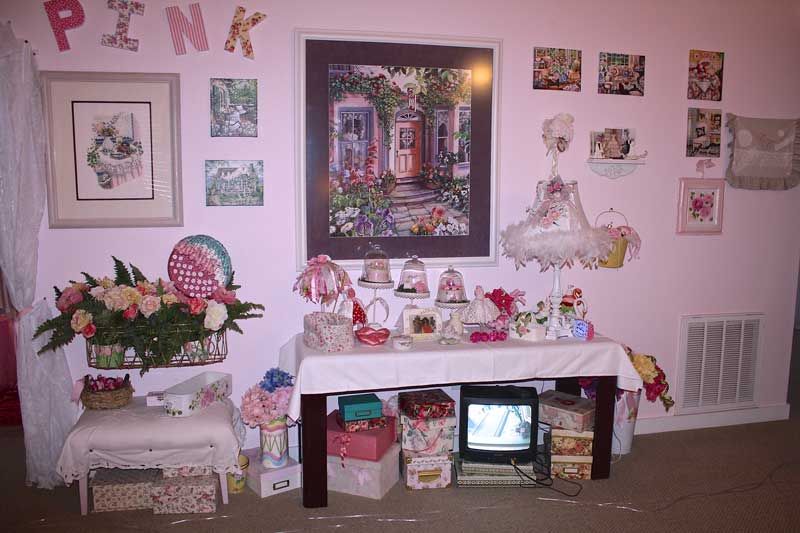
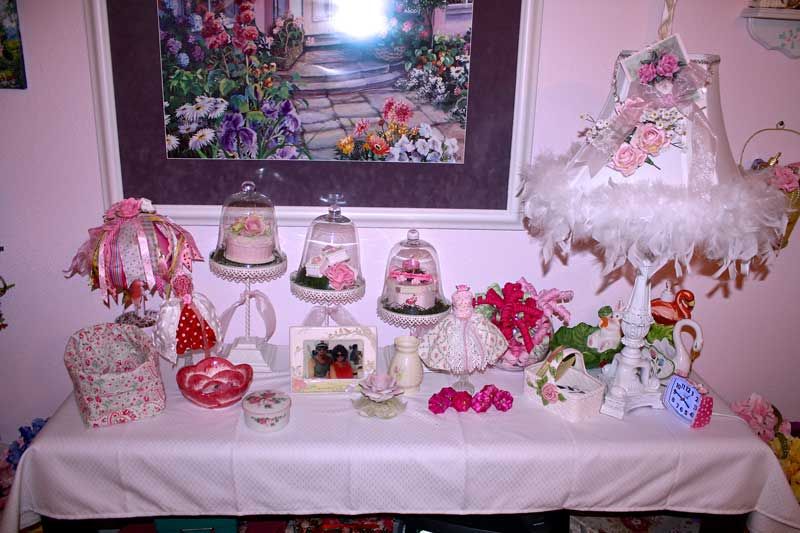
This side table holds a lot of things I've crafted myself. I don't do much anymore because our home is becoming overrun with it now. That little television is hooked up to our security system so we can see who comes to our door and choose whether to answer it or not. All those boxes under there have something in them. A great way to store things beautifully. I also wrap feather boas around some of my lamp shades. This is really a frou frou house. The pictures on this wall are a tribute to Susan Rios, my favorite painter I discovered in a picture gallery in San Jose, Ca. many years ago. I still buy her art to this day and hang it on my walls all over my home. I don't care at all what others think of my home. It's for me and my hubby. But I've yet found anyone who doesn't love the way it is and that includes men.
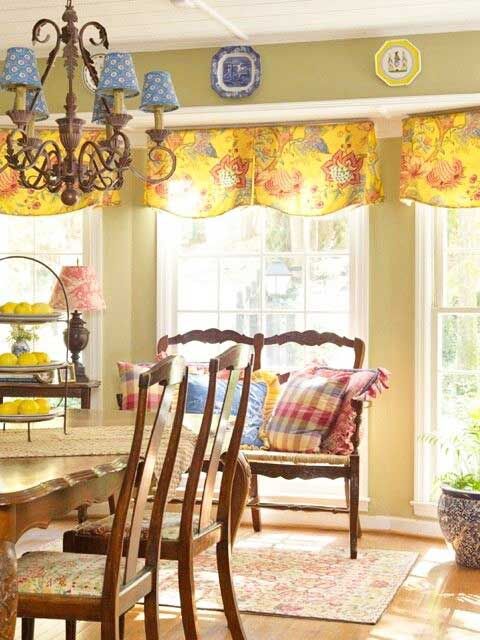
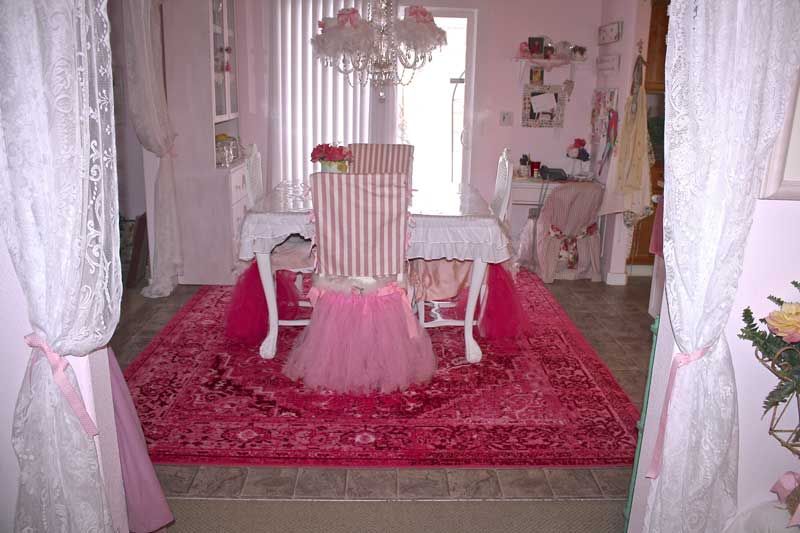
We have a dining area instead of a formal dining room as we just don't need it anymore. It serves us just fine. A woman I know in Texas has an etsy website for tutus. All kinds of tutus! I've bought 12 from her in white, pink and fuchsia. I attach them to old chairs I've found at estate sales, painted white and covered with the tutus and 2 of them with covers I've made from striped fabric I have. The chandelier I bought for $99 on line and added cute covers I decorated myself.
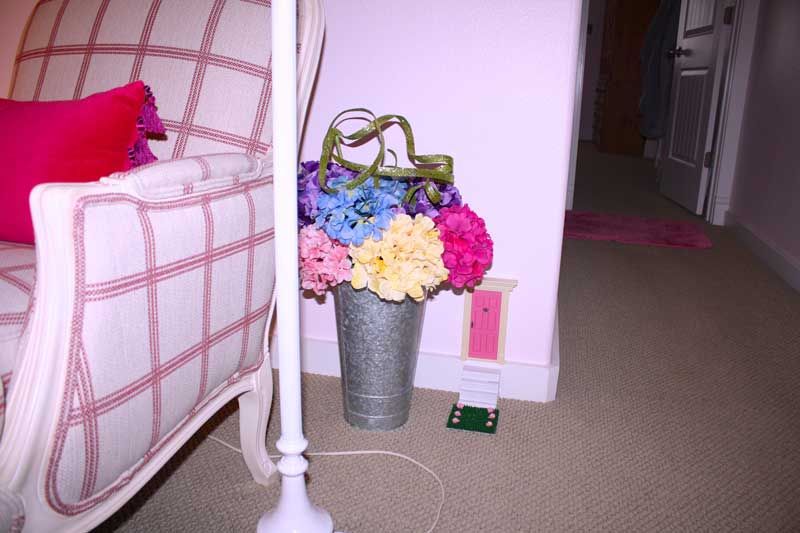
I also have flower pots I've placed around my house and added big chrysanthemums of different colors to each one. You can also see the Fairy Door I added to a "secret" place because fairies are secretive little creatures. Hubby made the little steps leading up to the door and I got a sample of outdoor carpet from Home Depot and glued tiny flowers on it and sprinkled fairy dust on it. The grand girls LOVE it! I tend to be a "fantastical" great grandmother.
There is a burgundy sofa table under that white cloth. I put all the things I've been given on it plus things I've made. The very bright pink things on the right are little flower knobs I found at Hobby Lobby and picked up the last 5 they had. I have no idea what I'll do with them. I don't have enough to go on a china cabinet I have but they're just adorable being displayed there or I may find some other pretty ones to add and make it look great.
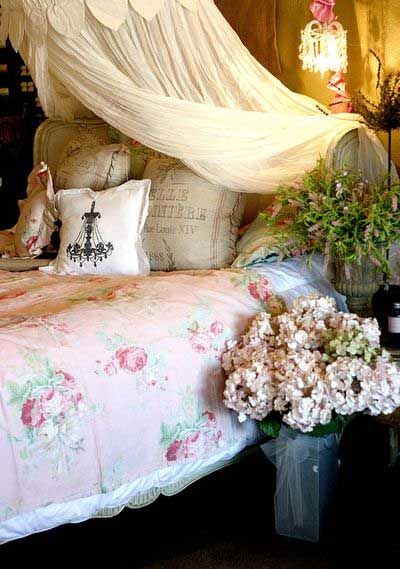
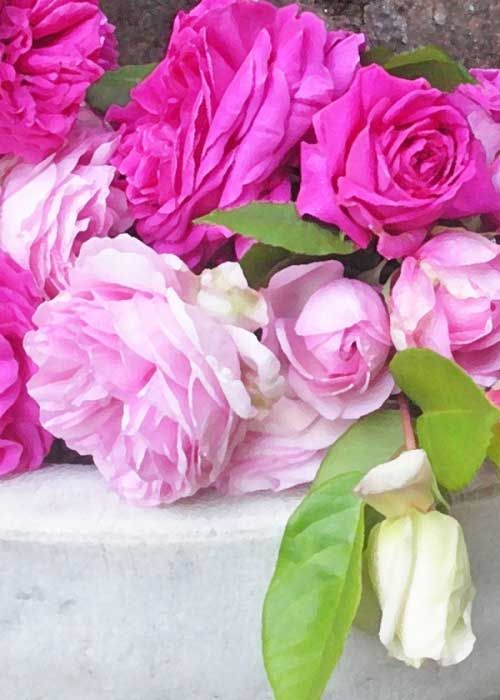
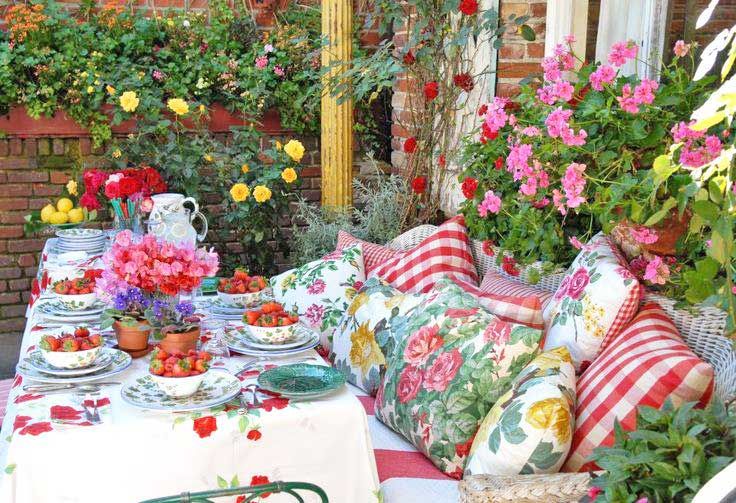
Below is a gorgeous porch party display that I found on the internet. I surf the internet for beautiful photos and I'm never disappointed.
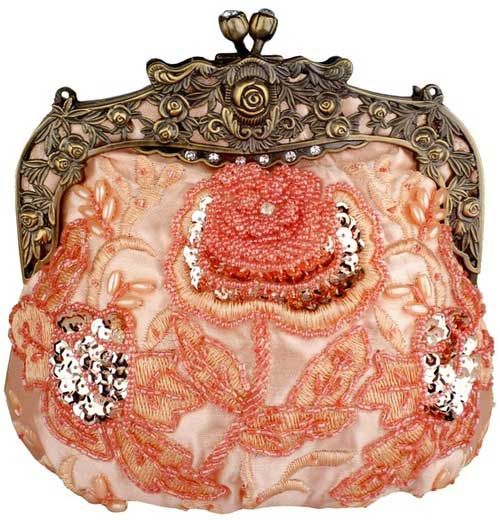
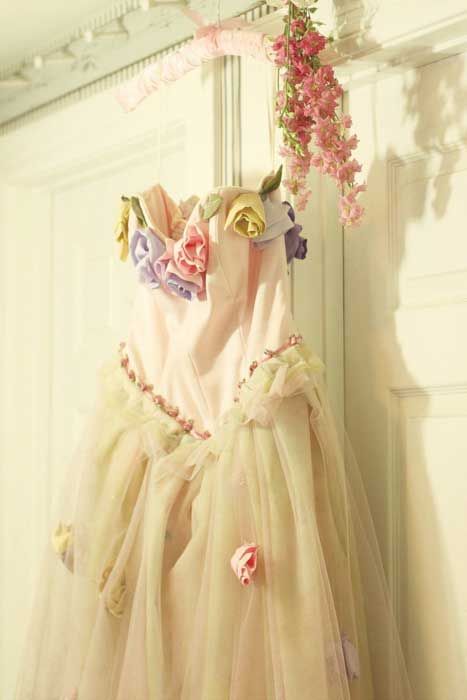
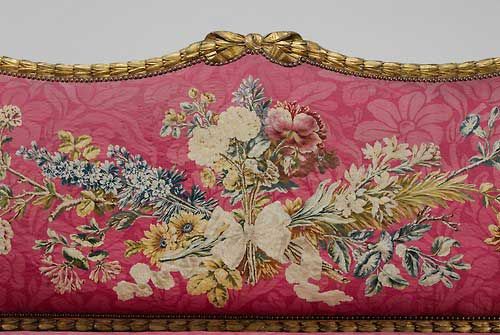
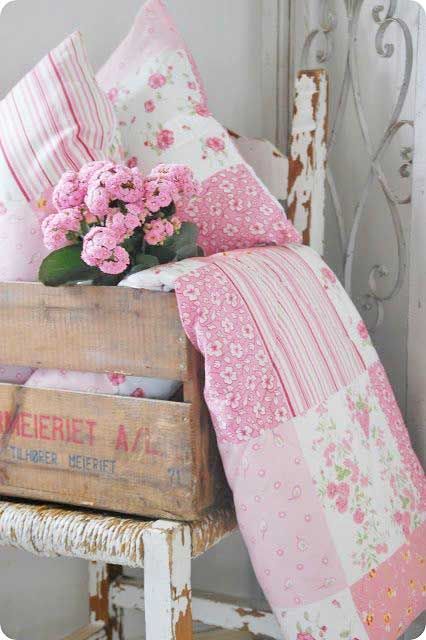
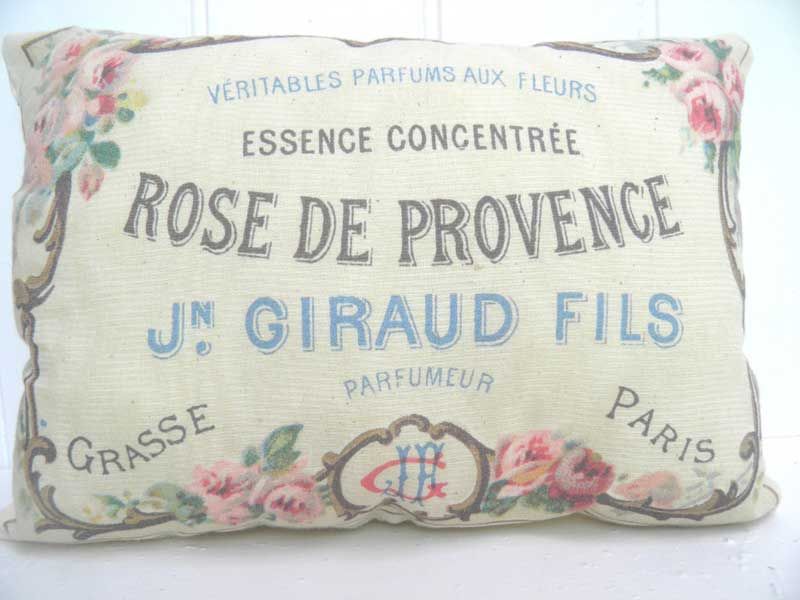
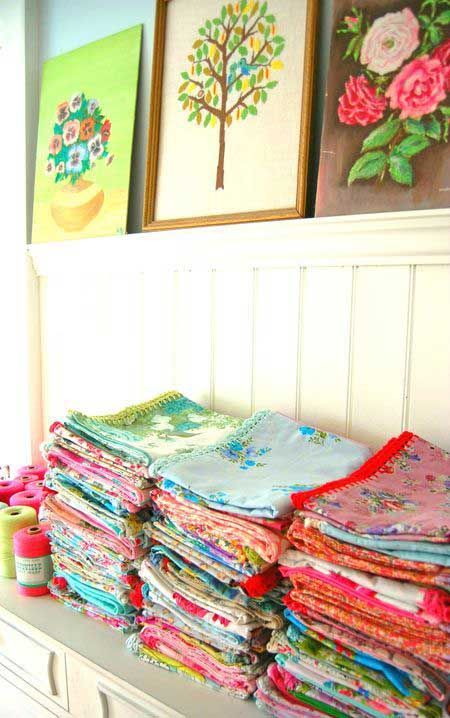
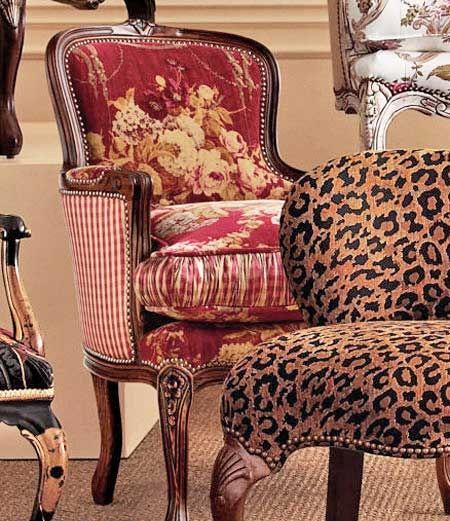
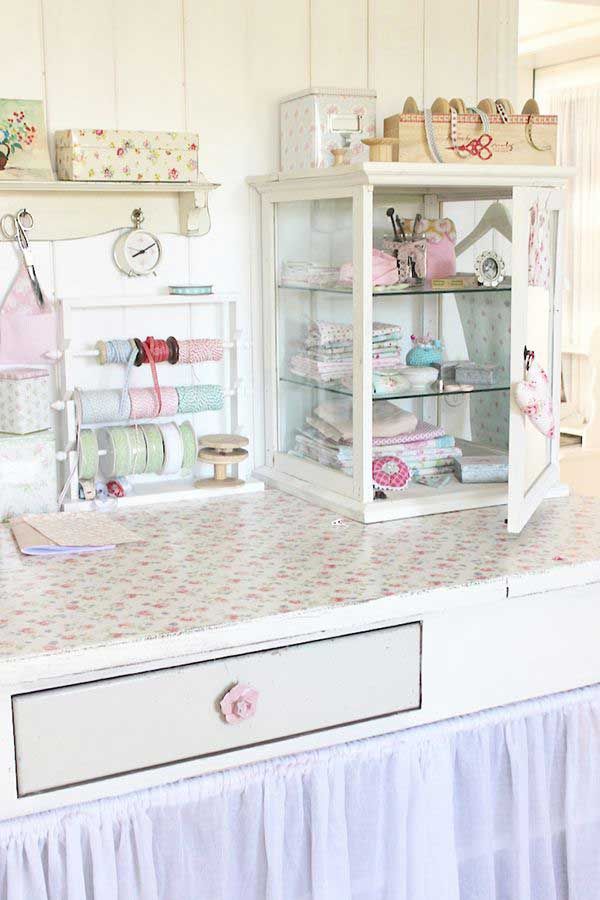
This is another photo found that displays a crafter's fabrics. I think it's gorgeous.
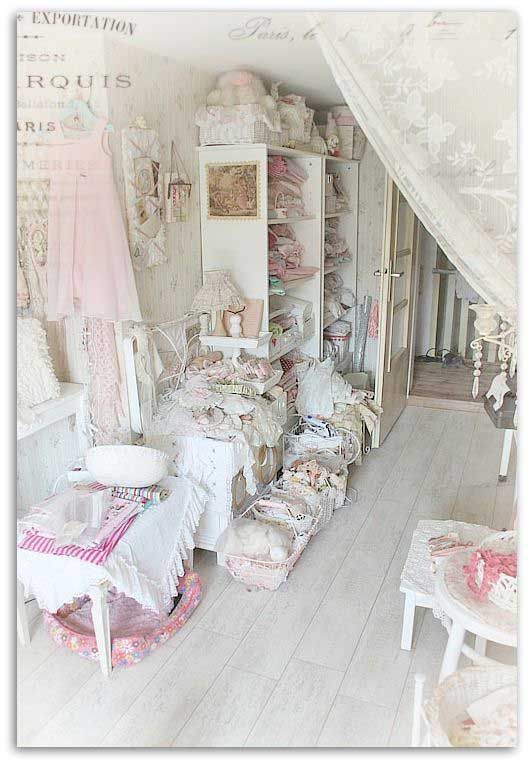
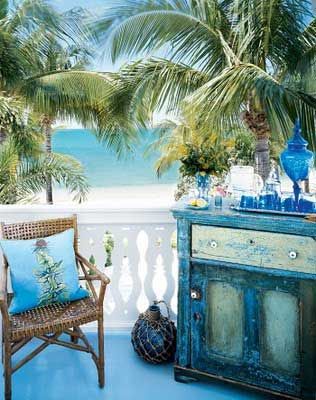
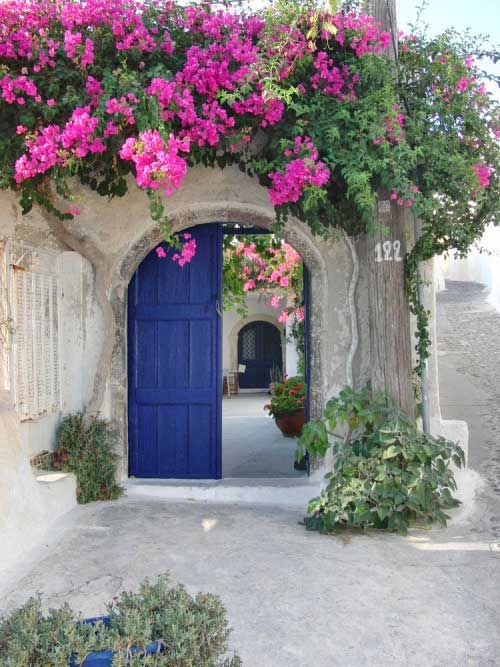
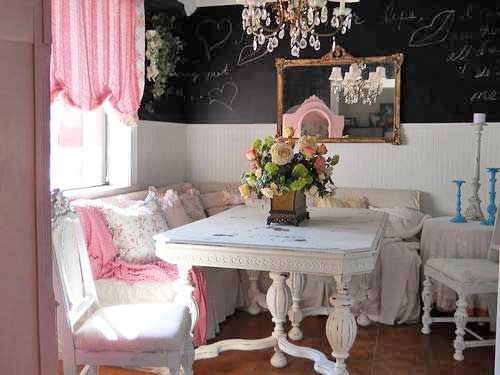
Another photo of a French style home.
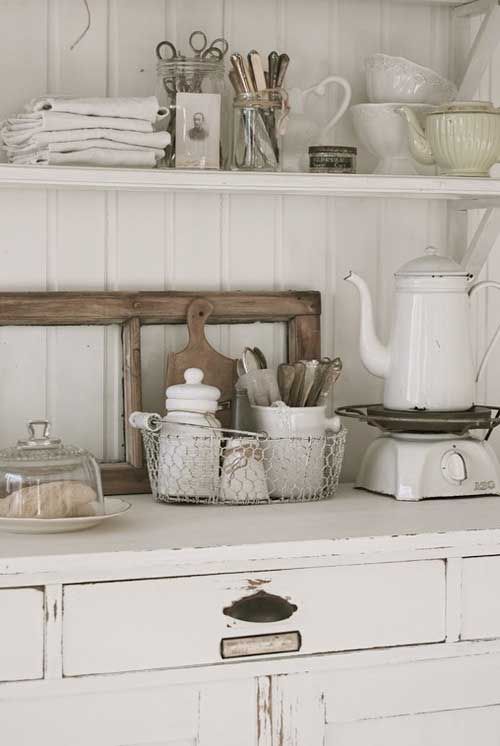
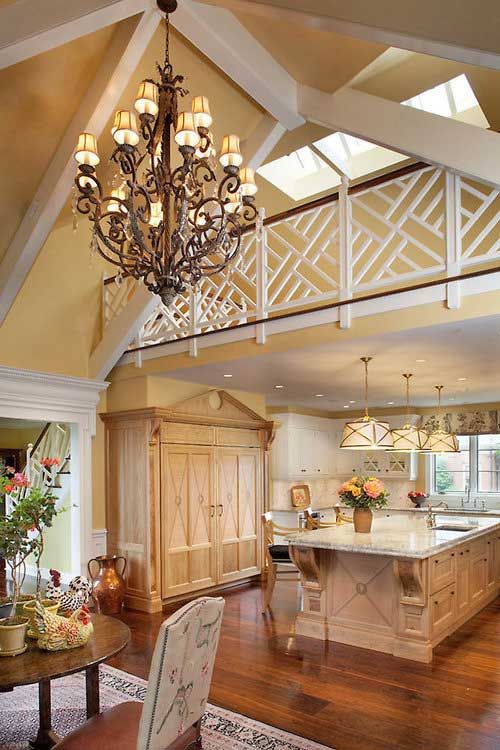
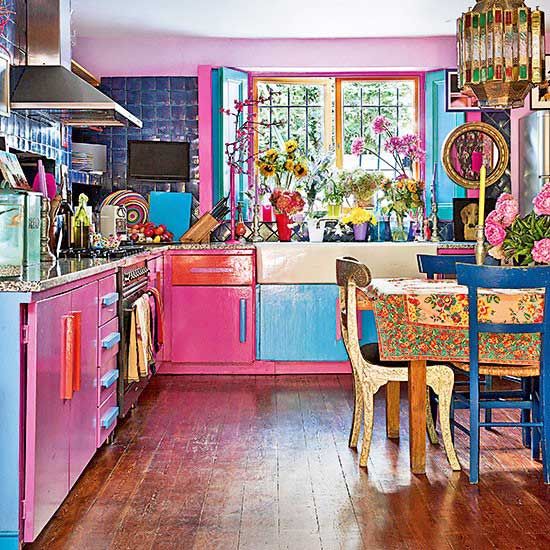
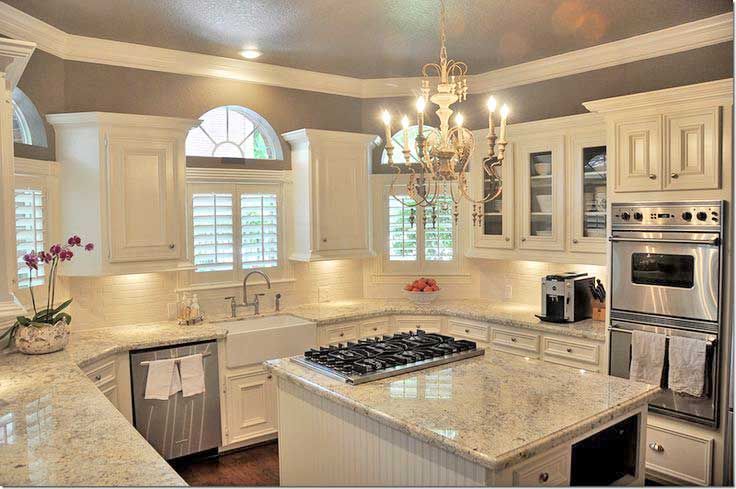
I have loved this kitchen for ages. If I had a dream kitchen this would be it. Lots of space, center counter, windows and a chandelier. Plus, it's white. I can do white but I think mine would maybe be pink walls and white cabinets.
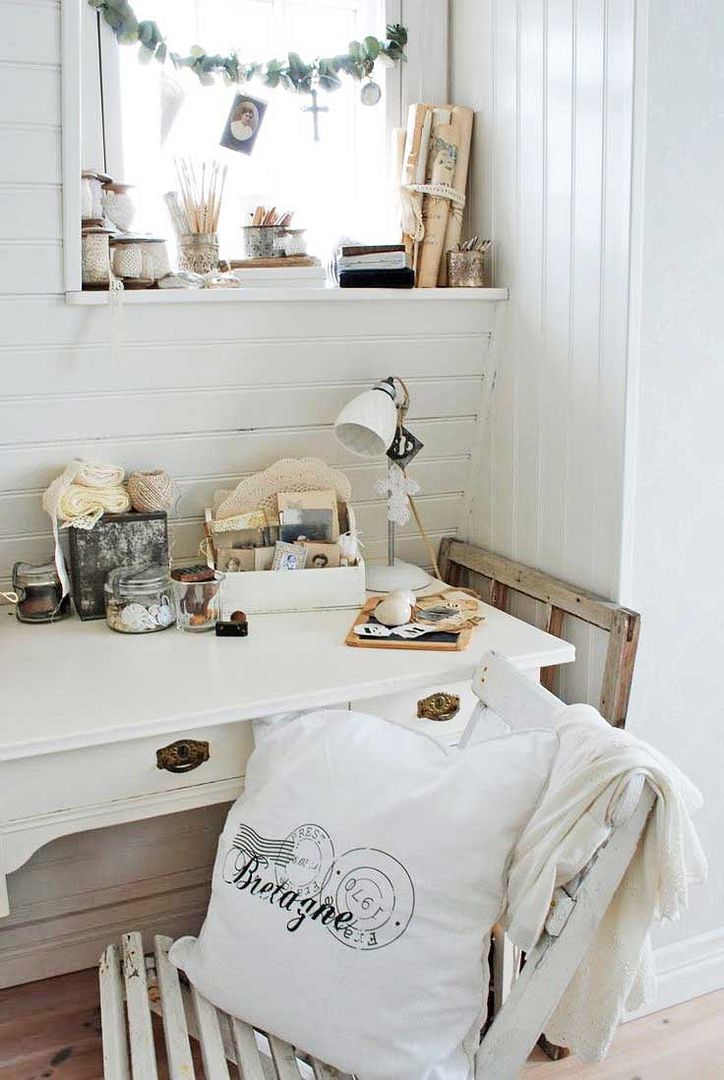
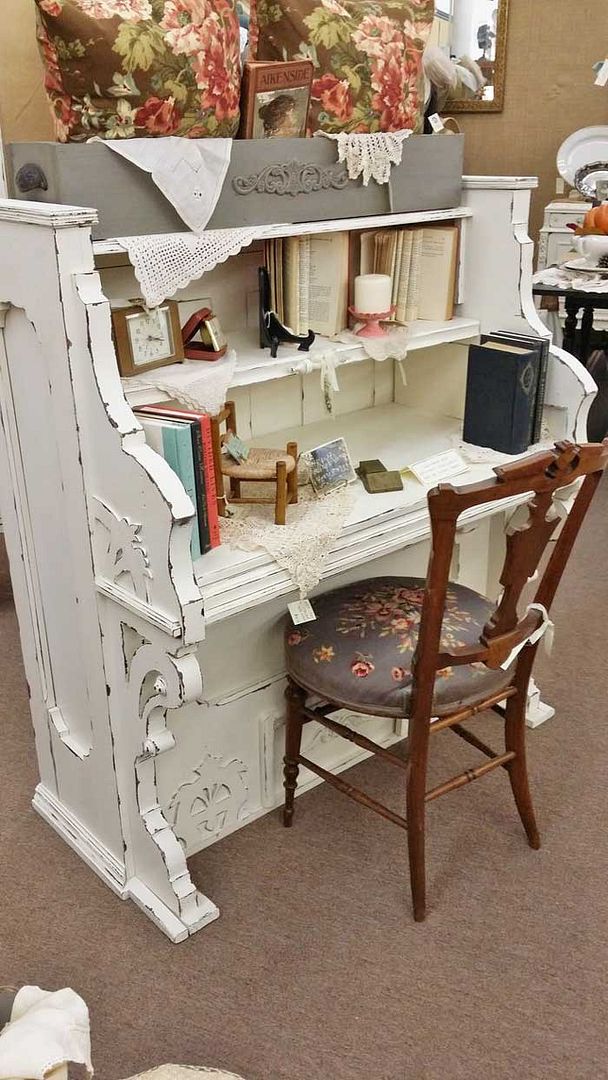
A lovely little vignette in an antique store. It looks to me like a piano converted into a home office space.
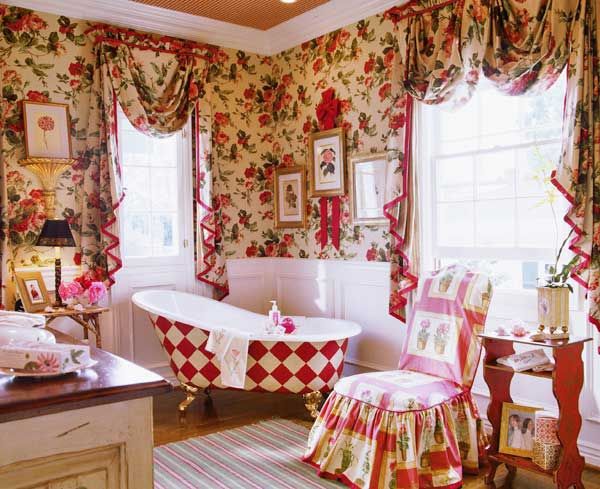
Talk about a "jazzed up" bathroom! This would be fun. I love it.
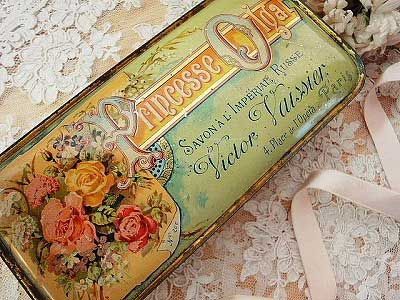
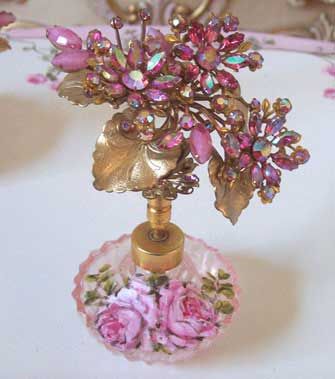
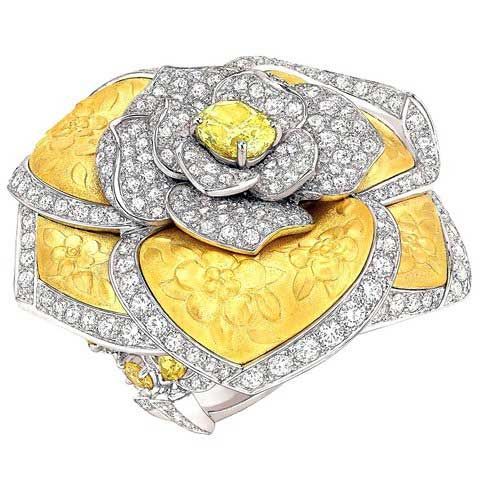
This is the color of yellow I like the most. This looks like a jewel of some kind but I'm betting it's very expensive.
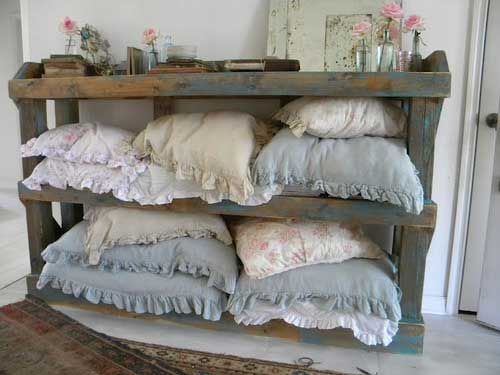
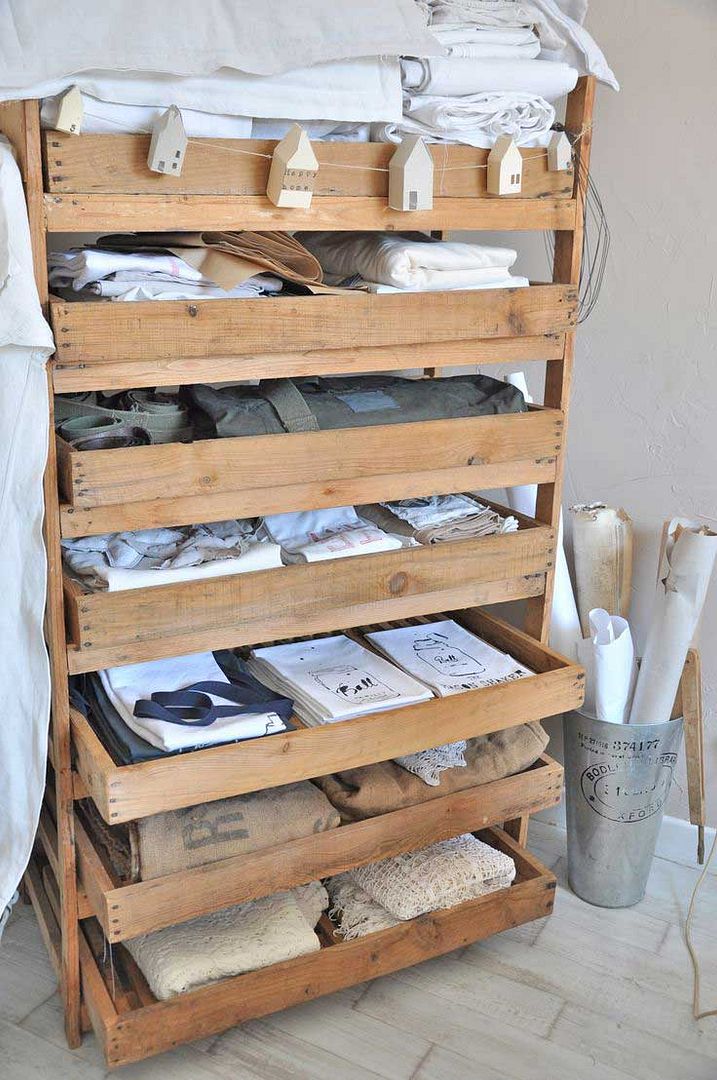
Here is another cute idea for a small space to display your crafting supplies.
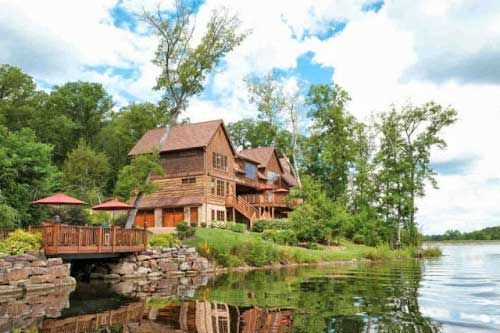
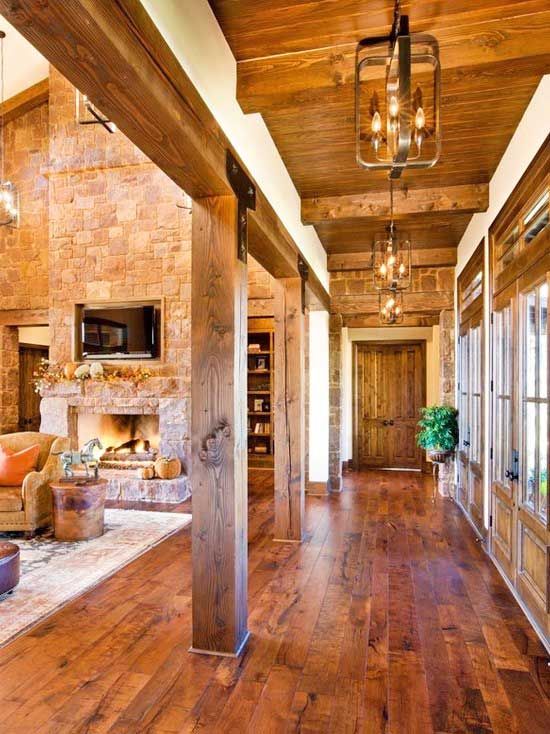
I'm not especially fond of wood homes but this one is gorgeous. I like smaller homes though after living in a 5,000 s.f. home for 12 years.
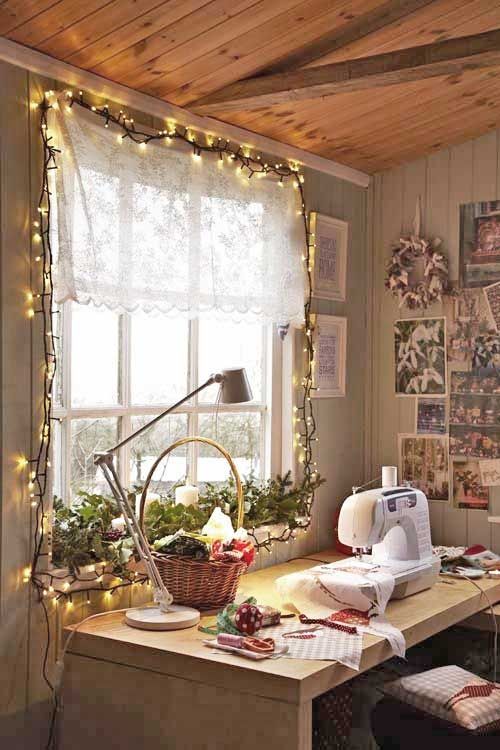
This woman made a delightful sewing area in a tight space and it's charming.
I'm still updating my template since I royally screwed it up awhile back. I'd like a papyrus font since that's the font I love the most. So until later.
~*~